Many of us need to understand how a portable table saw works. Whether we are seasoned professionals or just starting out, the portable table saw can quickly become an essential tool.
How does a portable table saw work? is one of the most common questions we get at techy Saw, from both beginners and experts.
Table saws will be in more demand worldwide because more people are making their own wooden furniture for bedrooms, kitchens, dining rooms, and other rooms. We know that many people who are new to woodworking will need some help to figure out how portable table saws work.
What Is A Portable Table Saw?

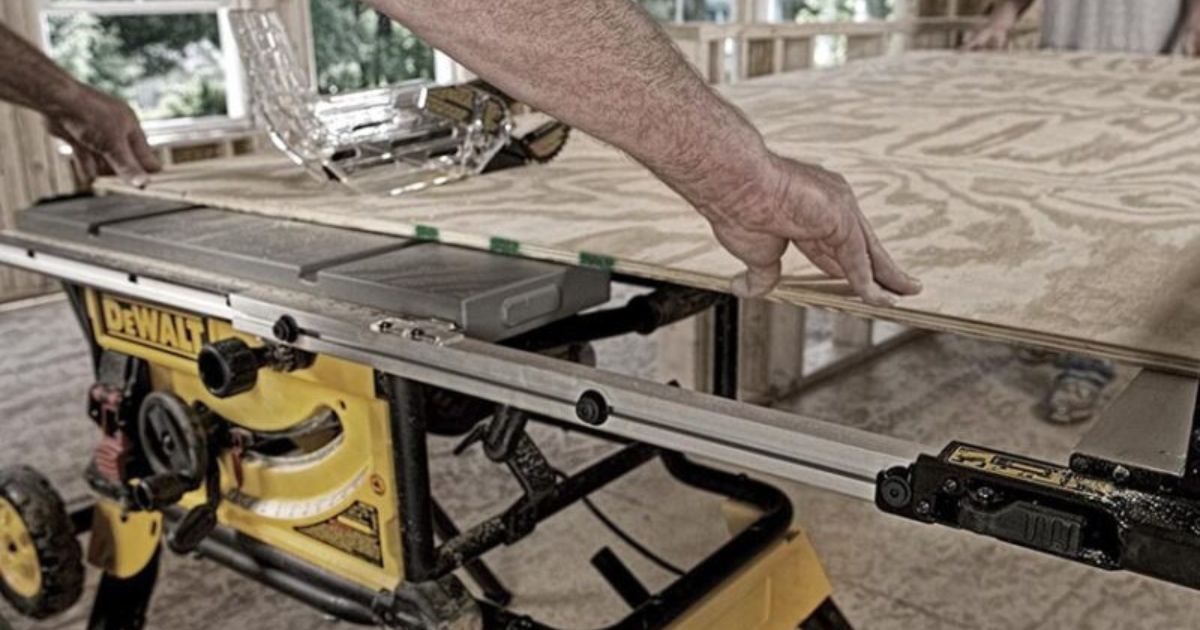
Portable table saws are flexible tools that can be used to cut across and with the grain of the wood.
After adjusting the height and angle of the blade, the operator pushes the stock into the edge to cut it. A guide (fence) keeps the blade cutting in a straight line.
Table Saw Essentials:
A table saw is made up of the following parts:
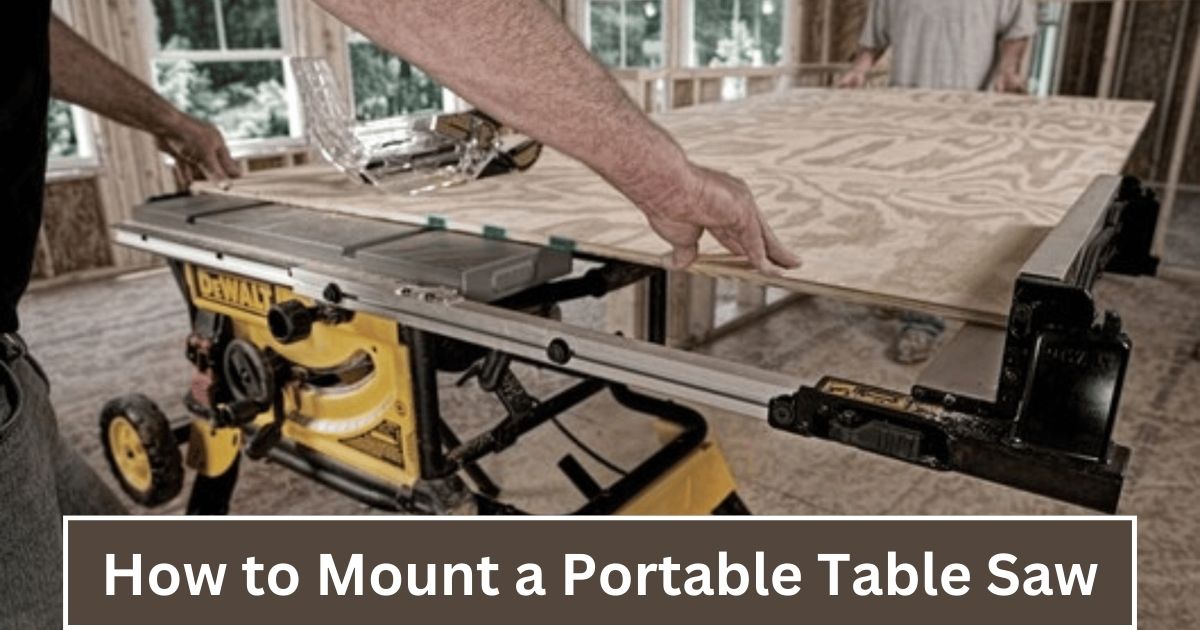
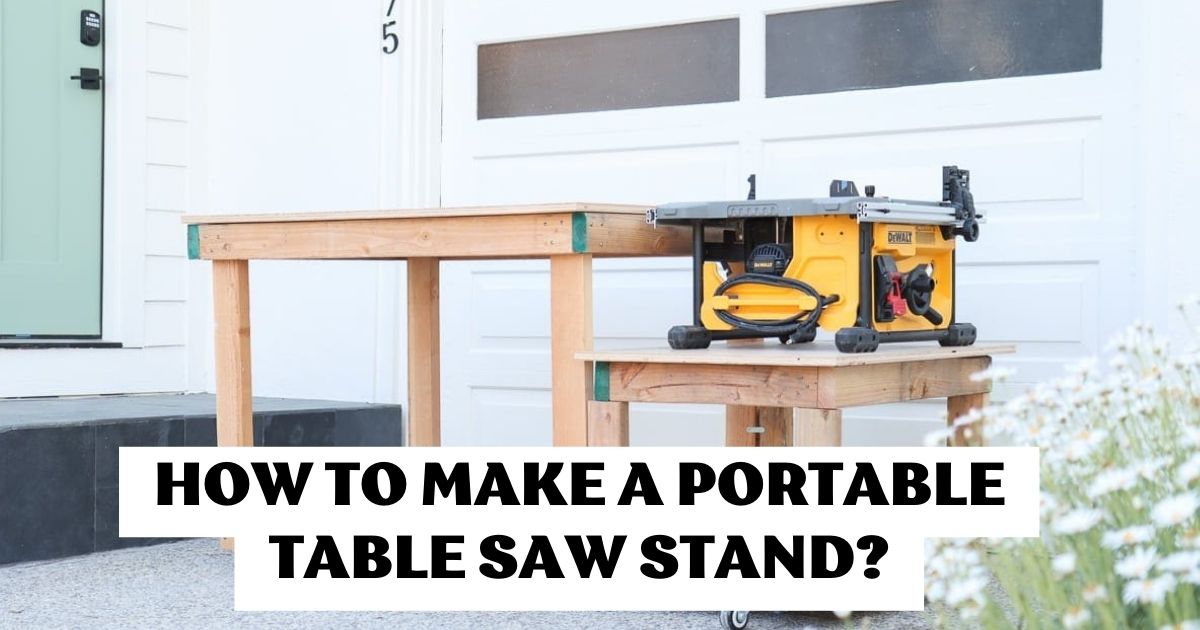
- A tabletop that is at least 3’x3′ and maybe even bigger than 4’x6′. Most brands offer tabletop extensions. The table, which is usually made of cast steel or cast aluminum, sits on a stand or a metal cabinet. Most table saws are stationary power tools, but there are portable versions with legs that fold up to make moving them easier.
- A blade whose height can be changed with a blade-height crank
- A rip fence is a guide bar that runs parallel to the saw blade.
- A miter gauge is a tool that helps make crosscuts.
- There are blade guards that cover the blade while it’s cutting to protect your fingers if they get close to the blade.
- You can feed the material through the saw without getting your fingers close to the moving blade by using push sticks.
- Depending on the type of saw you buy, you may be able to get extra parts like rollers or table extensions to hold long pieces of wood, vacuum attachments, or clamps.
First, Safety:
Too many amateurs and professionals have hurt themselves badly because they didn’t know how to use a Portable table saw. If the material being cut is not handled correctly, it can get stuck and kick back, either flying at them at a high speed or jerking violently and pulling its fingers toward the blade. To lower the chances of getting a kickback:
- Never start the saw while the thing you’re cutting is touching the blade.
- When making “rip” cuts, you should always use the rip fence.
- Crosscuts should always be done with the miter gauge, not the rip fence because the rip fence doesn’t provide enough support.
- During the cut, keep the material completely flat against the table.
Take the time to read the manufacturer’s safety instructions and always wear goggles and ear protection when using a table saw. There are specific safety rules to follow to avoid kickbacks. Also, remember to unplug the saw before you adjust or align the blade, and don’t take off the safety guards that come with the saw.
Choosing What to Cut:
With clamps, stops, and jigs, you can make special cuts like dado cuts, compound angles, and rabbet joints. However, most woodworkers use the table saw to make just two basic cuts. The most common way to use a table saw is to rip, which means cutting something to a certain width. Crosscutting is a way to cut things to a certain length. Each of these common cuts can be made with a table saw. Below, you’ll find step-by-step instructions.
Ripping Techniques:
The rip fence on a table saw adapts to the width of the desired cut and also serves as a guide to control the material while cutting, making ripping the simplest cut to produce.
Step 1:
Unplug the table saw and put a rip blade that works for the material you’re cutting into the blade arbor on the top of the table. Change the height of the blade so that the top of the blade doesn’t stick up more than 14 inches above the thickness of the material you’re cutting. For instance, if you want to cut long pieces of wood from 1/2-inch plywood, set the blade no more than 3/4-inch above the tabletop.
To do this, use the arbor nut wrench that came with your table saw to loosen the arbor nut (the nut that holds the blade in place) and place the rip blade so that the teeth face the front of the table saw. Since a table saw blade spins toward you from the top down, the sharp edges must be on the front of the saw and not the back. Make sure the arbor nut is tight.
Step 2:
Set up the rip fence by releasing the locking lever on the front of the fence, which holds it in place, and sliding it so that the inside edge of the fence matches the width of the cut you want. You can use the ruler on the front of your table saw to help you set up the fence, but don’t rely on it alone to measure your cut.
Use a precise tape measure to measure the distance between the fence and the edge of a saw tooth that is closest to the fence. One tooth points to the left and then the next one points to the right. By measuring to the nearest edge, you’ll account for the kerf, which is the amount of wood that will be cut away by the blade.
Step 3:
Plug the table saw in and put the material to be cut on the table so that it is lined up with the rip fence. Do not let the material touch the blade until the saw is turned on and the blade is moving at full speed. Kickback is sure to happen if the material touches the blade before the blade gets up to speed.
Step 4:
Move the material slowly but firmly along the rip fence, using one or both hands as needed to keep the material flat on the tabletop and close to the fence. When ripping large, thick boards, you’ll often want to use both hands to guide the material at first, then switch to one hand as the cut nears completion. If the material is long and goes past the back of the table, use a table extension or have a helper hold it while you cut so that the material stays flat. Don’t let go of the piece of wood and walk around to the back of the table saw. If you do that, the piece of wood may lift off the table, which increases the chance of kickback.
Step 5:
If you need to keep your fingers away from the moving blade, use a push stick. A push stick is used to guide the material when making narrow rips that would put your fingers within a few inches of the blade. Don’t take a chance; use a push stick every time.
How to Cut Across:
It’s important to remember not to use the rip fence as a guide when making crosscuts on a table saw. The rip fence keeps long pieces stable, but most crosscuts are done on narrow pieces, like when you cut a board in half or cut off the end. During crosscuts, there isn’t enough of the material to fit along the rip fence. Trying to use the fence increases the chance of dangerous kickbacks. Use a miter gauge instead.
A miter gauge has a guide fence to keep the material in place and a bar that fits into a deep groove on the tabletop. When the bar is in a groove, the whole miter gauge slides from the front to the back of the table saw so you can control the cut.
It also has a guide that looks like a protractor and can be set to the right angle by turning a knob and then tightening it again. Some table saws come with a miter gauge that is a little on the light side. If you plan to do a lot of crosscutting, you might want to buy a stronger miter gauge as an add-on.
Step 1:
Turn off the table saw and put a crosscut blade in the table saw’s arbor, as shown in Step 1 of “Ripping Techniques” above.
Step 2:
Move the protractor guide on the miter gauge to make crosscuts that are either straight or at an angle.
Step 3:
Line up the piece of wood along the front edge of the miter gauge and clamp it in place if you need to.
Step 4:
Plug the table saw in and turn it on, but don’t let the wood touch the blade until the blade is spinning at full speed.
Step 5:
Slowly and carefully move the whole miter gauge and the thing you’re cutting through the moving blade.
Step 6:
Turn off the table saw before you pick up pieces of wood that were cut off near the blade.
Bottom Line:
We hope you now understand How Does a Portable Table Saw Work. You should always look at the instructions that came with your saw.
Always do your safety checks before you start working. Get to know your tool before you turn it on. Before you start working, always check the alignment of your saw and adjust your miter gauge and fence if necessary.
FAQ’s
What is a Portable Saw Used for?
The portable electric circular saw, whose blade is attached to a motor shaft, is probably the most common type of saw, especially for handymen who work around the house. With the right blade, it can cut almost any material, including wood, metal, plastic, fiberglass, cement block, slate, and brick. It can rip, cross-cut, and cut at an angle on wood.
Is a Portable Table Saw Sufficient?
Yes, a portable table saw or contractor saw can be used for woodworking. But because of how light it is, the vibrations it makes, and the lower-quality materials it is made of, cuts made with this tool may not be as accurate as cuts made with a cabinet saw.
Related Posts:

