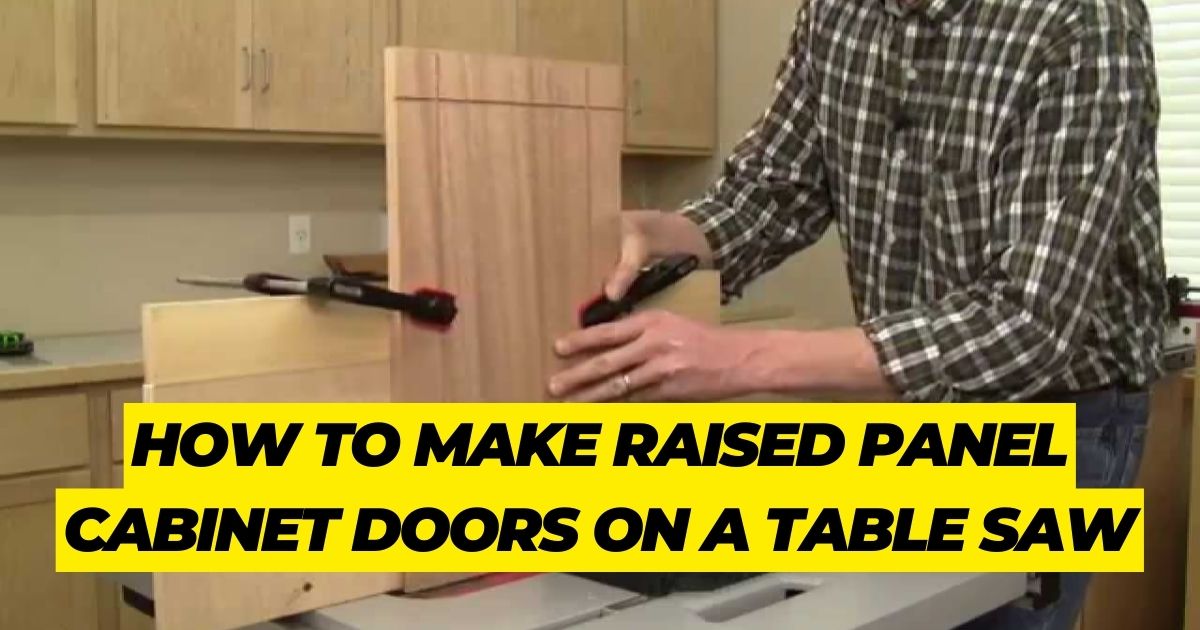
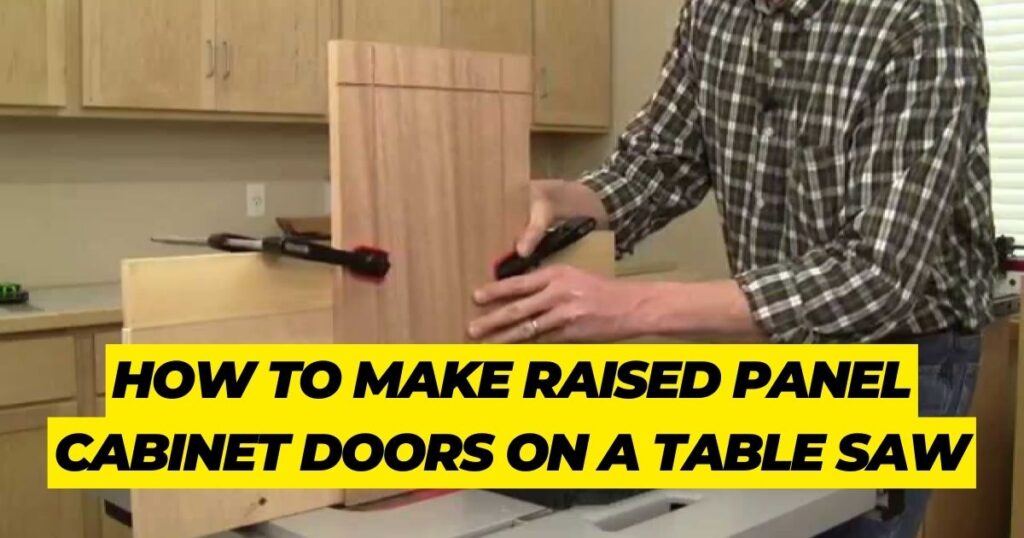
If you like to play around with woodworking and want to know how to make raised panel cabinet doors on a table saw, you’ve come to the right place!
Or, if you are just starting out with woodworking, this piece can give you the confidence boost you need to get started.
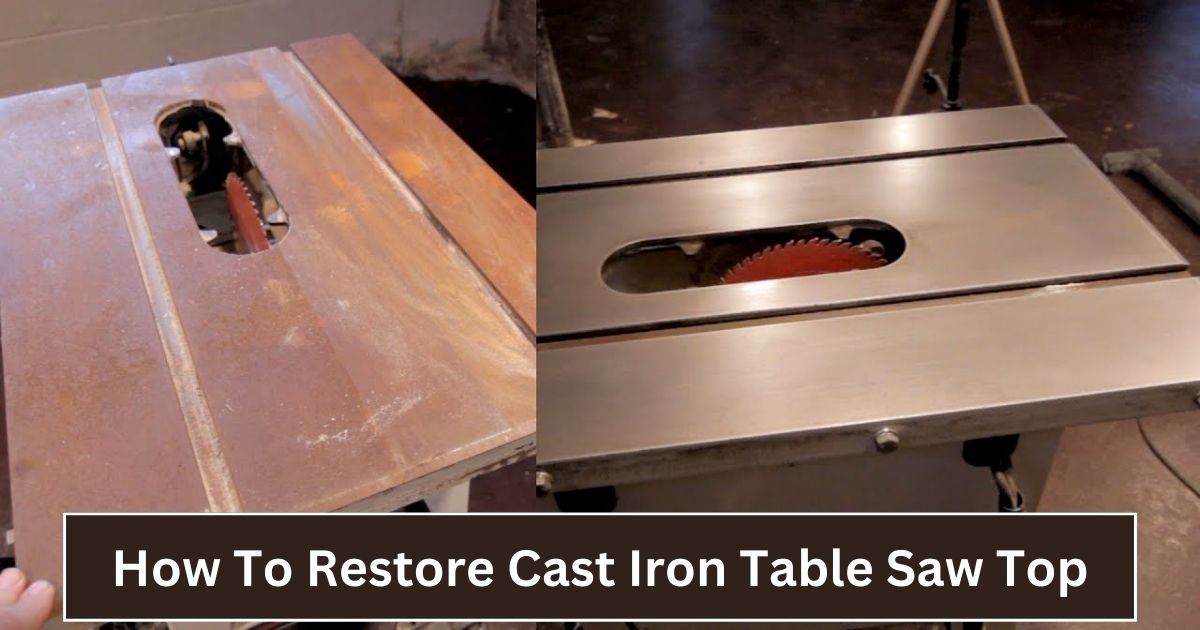
Using a table saw to make raised-panel cabinet doors is a great way to give your cabinets more style. In this detailed guide, we’ll show you how to make raised panel cabinet doors on table saw that look great and last for years.
We’ll also tell you how to avoid making the most common mistakes. We’ll talk you through every step.
How To Make Cabinet Doors With Raised Panels Using A Table Saw:
Here are some important steps for using a table saw to make Raised Panel Doors.
1)Select The Correct Blade:
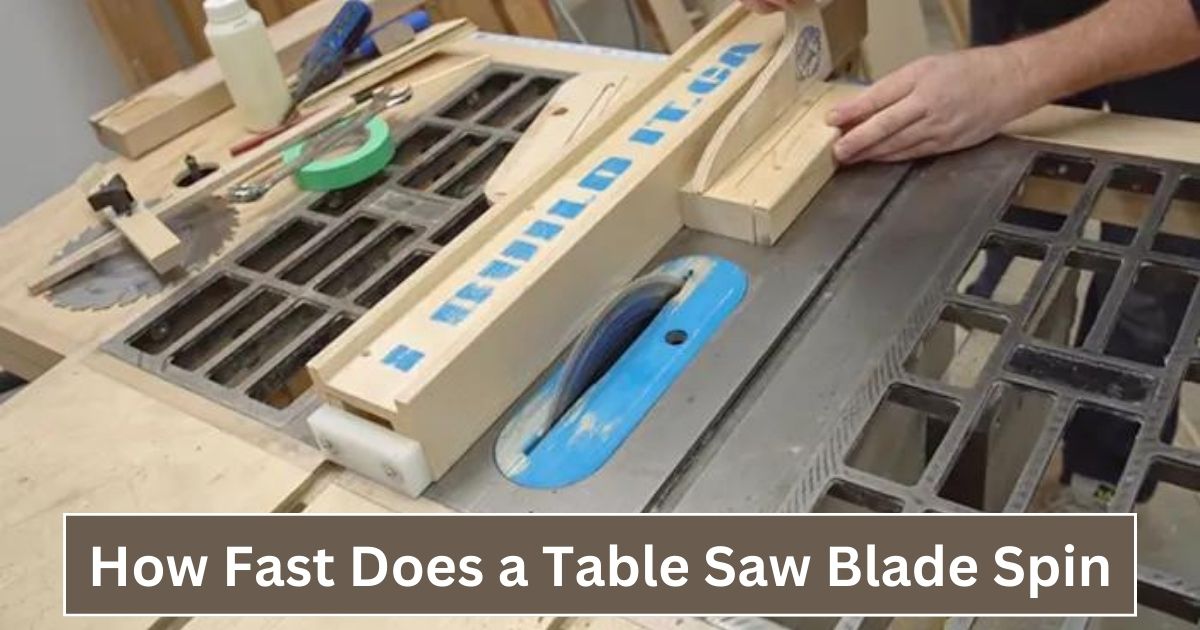
Choosing the right blade is one of the most important parts of making raised panel doors on a table saw. You should use a blade with at least 40 teeth and a carbon tip.
This will make sure the cut is clean and smooth. Also, make sure that the blade is put in the right way. The teeth should be facing down and be even with the top of the table. If they aren’t, your door will be uneven when it opens. Once you have the right blade, you can set up your table saw.
2)Put your Saw Table Together:
Set up your saw table as the next step. You will need to make sure that the fence is straight to the blade and that the miter gauge is at 90 degrees.
These two things are very important if you want to make straight cuts. If you don’t know how to do this, look at the instructions that came with your saw or ask someone at a nearby hardware shop.
Here are some good movable table saws that will help you make cabinets that are just right.
3)Rails and Stiles Must be Cut:
After you’ve set up your saw, you can start cutting the pieces for your door. You’ll need to cut the rails and stiles as your first step. The stiles are the vertical pieces that go along the sides of the door.
The rails are the horizontal pieces that go along the top and bottom of the door. Using a push stick is important to make sure that your cuts are straight. This will keep your hands away from the blade and keep you from cutting yourself.
When using a table saw, it’s also a good idea to wear gloves and eye protection. First, cut one of the bars to the right length. Then put it up against the fence and cut it.
Do this for each rail. The stiles need to be cut next. First, cut one of the stiles to the right length. Then, put it up against the miter gauge and cut it. Do this again and again for each step. After cutting all of the pieces, it’s time to put the door frame together.
4)Construct The Door Frame:
The first step in putting together the door frame is to join the rails and stiles together. For this, you’ll need wood glue and clamps. Spread a lot of glue on one of the stiles to get started.
Then, put a rail against it and clamp it to the first one. Do the same thing with all of the rails and stiles. Once all the pieces are glued together, let the assembly dry overnight before going on to the next step.
5)Remove the Panels:
The next step is to cut your door’s parts. The pieces of wood that go between the rails and stiles are called panels. They make the door look like it has raised panels.
You’ll need a router with a flat trim bit to cut them. First, cut one of the pieces to the right size. Then, put it against the door frame and cut the edges. Do this for each side. Once all of the pieces are cut, it’s time to glue them together.
Bottom Line:
Put your newly acquired knowledge to use by putting your newly constructed raised panel cabinet doors that you built with a table saw to good use.
It is a simple approach to giving your home an exquisite look without spending a lot of money, and it is really straightforward to do. You’ll find that with a little bit of effort, you’ll be able to make magnificent doors that will lend your home an additional air of refined sophistication.
FAQs about How to Make Raised Panel Cabinet Doors on a Table Saw
What are Cabinet Doors with High Panels Made of?
Raised-panel cabinet doors have a raised center panel that gives the look more depth and texture. Most of the time, they are made as 5-piece doors with a veneer or solid wood panel in the middle.
What’s the Difference Between Shaker and Raised Panels?
The first thing that makes raised-panel cabinets and shaker cabinets different is how they look. The center of the Shaker cabinet doors is flat and cut out. Raised-panel cabinet doors, on the other hand, have a center panel that is raised and slopes down to the sides. Also, shaker patterns are simple and don’t have any decorations or decorations.
Should you Glue Raised Panel Doors?
If there’s a lot of space between the rails and you’re scared that the panels might slip out of place and look off, all you’d need is a little glue down the middle to keep them in place without limiting their ability to move across the grain.
How Thick Should Cabinet Doors be Made of Plywood?
Use 1/4-inch plywood for the back of the cabinet, unless 1/2-inch plywood is better because it can hold the weight of the cabinet. Choose 1/2-inch hardwood for drawer sides, fronts, and backs. For drawer bottoms, you can use 1/4-inch plywood. Plain front plywood doors are rare, but they can be made out of 3/8-inch plywood.
Related Posts:
- Best Cabinet Table Saw: (Top Pick and Reviews)
- Top 10 Best Table Saw Under 600 Dollars
- How Thick is a Table Saw Blade
- Best Table Saw Under 400 Dollars
- Top 9 Best Table Saw Under 1500 Dollars
- Best Table Saw Under 300 Dollars: (Top 10 Picks)
- How to Use a Table Saw For Beginners
- Best Table Saw Under 1000