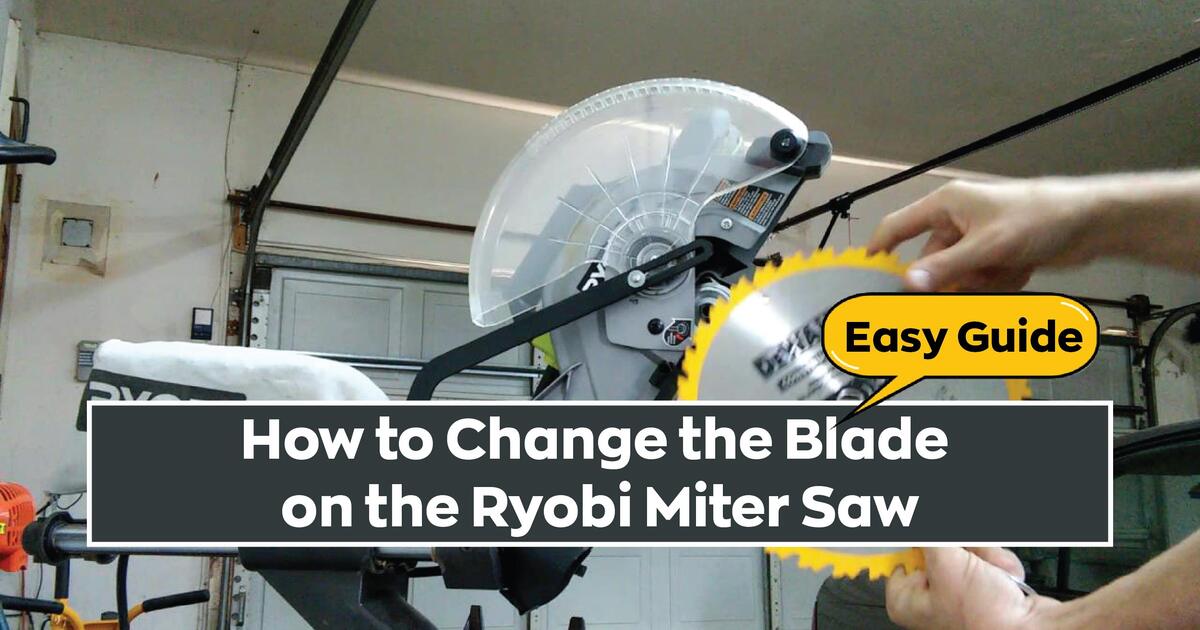
A miter saw is a lifesaver for a professional woodworker. This speeds up the projects and makes them easier at the same time. Now, many different brands make high-quality miter saws with different features. Ryobi is one of the most well-known brands that make a wide range of tools. You must know How to Change the Blade On a Ryobi Miter Saw if you use their product.
Even though changing the blade on a miter saw seems complicated, anyone can do it if they have the right information. To get the installation right, you need to follow the right steps. If you are serious, keep reading this short rule of thumb.
Components of a Ryobi Miter Saw:
As we’ve already talked about, to understand a Miter Saw better and do any technical work on it, it’s important to know what its parts are and what they’re used for, so that even a beginner can do a good job.
Power Switch:
The handle is used to move the blade up or down toward the thing that needs to be cut or trimmed. The power button is built into the handle. This gives the user control of the blade.
Don’t confuse this with the main power supply. To change the blade on the Ryobi Miter Saw, we’ll need to know the difference between the two.
When the power switch is pressed, the blade can spin. When the switch is let go of, the blade stops spinning and comes to a stop.
Blade Guard (Cover):
The blade guard wraps around the blade and makes a barrier between the user and the blade. This keeps the user from getting hurt while cutting things.
The top half of the guard is attached to a hinge, which makes it completely fixed. The bottom half, on the other hand, is free to move and can be pulled back to remove the old blade and put in a new Miter Saw blade.
Because the lower half is connected to a hinge, when the guard is lowered to cut the piece of the object, the lower part automatically opens.
Table:
The object to be cut is put on top of the table, which is part of the Miter Saw. It’s a solid, well-balanced surface that holds the object while it’s being cut, making it less likely that the object will move.
It is also connected to the Saw, giving the Saw stability and support. Together, they make up the whole machine. There is a slot in the table that the blade can move into when cutting or trimming something.
Fence:
The fence is attached to the table perpendicularly. The object is placed on the table, which makes the cutting even more stable, accurate, and precise. The more stable an object is, the better it can be measured, cut, or trimmed, and the more accurate the results will be.
Vise:
A vise grip is a part that is usually on both sides or at least one side of a Miter Saw. The purpose of the vise is to keep the Saw steady as it is lowered to cut. It can also be used to hold longer objects in place while they are being worked on.
Blade:
The blade of the Saw is what does the cutting or trimming. Most Ryobi Miter Saw blades are 10 inches in length. There are blades of different sizes.
Most Miter Saw blades come in standard lengths of 7 1/2 inches, 8 1/2 inches, 10 inches, and 12 inches. Changing the blade on a Ryobi Miter Saw is pretty much the same for blades of all sizes.
Scale:
The scale on the miter saw lets you know what angle you are cutting at when making cuts of any degree. When you turn the Saw, the scale will also turn with it.
There is a degree indicator built into the table so you can see what you need. On the arm of a compound saw that can cut bevels, there will be an extra scale that shows how much the blade is angled.
Miter Lock Adjustment:
With the Miter adjustment screw, you can change the angle of the saw depending on the angle you want to cut at. It is unscrewed, and when a lever at the bottom is pulled, it can be moved from side to side. This turns the Miter saw in a horizontal direction.
Because of this, the Saw can not only cut in a straight line, but also at an angle. If it’s a Compound Saw, you can also change the Saw’s angle up or down.
Reasons Why the Blade Needs to be Changed:
The blade is the most useful part of the Ryobi Miter Saw. If the blade can’t cut, there is no reason to use the Ryobi Miter Saw at all. Here are the main reasons why the blade on the Ryobi Miter Saw needs to be changed or replaced:
- The blade is no longer sharp, and some or all of the teeth are missing or have broken off. Another sign is that the blade doesn’t cut as smoothly and gets stuck when it’s being used to cut or trim. Then you’ll know that it’s time to change the blade.
- To cut or trim the object right, you need a different blade. Even though a Ryobi Miter Saw is mostly used to cut wood, it can also be used to cut other things by changing the size and shape of the blade.
- For different cuts, different blades are used. Not all blades are made to cut wood of the same thickness. For different types and thicknesses of wood, you also need different blades.
Tools Required to Replace the Blade Safely:
To change the blade on a Ryobi miter saw, you’ll need these things:
- Philips Screwdriver
- 5mm and 100mm hex key
- Machine oil
- Safety equipment
- Combination square
A first-aid kit should also be close by in case something goes wrong while the blade on the Ryobi Saw Miter is being changed.
Step-by-Step Guide on How To Change The Blade On A Ryobi Miter Saw:

Make Sure to Take all Safety Measures:
Make sure to take all the safety measures and to wear gloves.
Unplug the Power Source:
Make sure the main power supply is off and the blade is still as soon as possible. After the power has been off for 10–15 seconds, it is safe to touch the machine.
Pull the Pin Back and Raise the Blade Arm:
If the blade arm is lowered, gently push on it to remove the lock pin, then pull out the lock pin to be able to lift the blade arm and change the Ryobi Miter saw blade with ease.
Loosen Cover Guard Screw and Life the Cover:
You must first remove the guard cover to expose the blade bolt, which we will need to know about for the next step. To accomplish this, loosen the screw located at the center of the guard cover. Slightly loosen it so that the linked hinge can be freed.
Do not totally loosen the screw. Once this is accomplished, pull the hinge from the screw and push the guard cover up and out of the way, allowing the blade to be easily removed.
Click the Spindle Lock to Stop the Blade from Rotating:
The Ryobi Miter Saw spindle lock button is a grey button on the opposite side of the blade from the blade. With your finger on the button to lock the spindle, turn the blade down with your other hand.
After about a second, the spindle lock button will lock down with a click, and the blade won’t be able to move or turn. This step is very important, because if you don’t do it, the Ryobi Miter Saw bolt won’t open.
Open the Bolt of the Ryobi Mitre Saw Blade:
For this, you’ll need a hex key, which is included in the Ryobi Miter Saw blade replacement accessories or tool kit. Before you loosen the bolt, make sure the hex key fits all the way in it. Now, before you loosen it, you’ll need to figure out which way the bolt loosens.
There are two easy ways to figure this out. The first way is that the bolt should loosen in the same direction that the blade turns. The second way is to look at the cover of the blade, which has an arrow on it. The bolt will loosen in the direction that the arrow is pointing.
If the blade has left-handed threads, the bolt will need to be turned clockwise to loosen it. If you turn the hex key the wrong way, you could strip the bolt, which would make it very hard to open.
Now Put Down the Blade:
When you loosen the bolt, take off the outer washer, but don’t take off the inner washer. Take the blade off the spindle and gently pull it out. Take your new Ryobi Miter Saw blade and replace the old one by putting it on the spindle and putting it in place.
Make sure to wipe some motor oil on the inner washer before putting in the new blade and on the outer washer before adjusting the outer washer at the points where the inner and outer washers touch the blade surface.
Modify, Repair, And Secure The New Blade
Align the washer’s flats with those of the spindle before installing the outer washer. Relax the spindle lock button to release the blade’s rotational motion, and tighten the blade bolt.
Ensure that it is tightened in the opposite direction from which it was loosened, or in the direction that is contrary to the arrow on the Ryobi Miter Saw.
Keep in mind that you should not overtighten the bolt in order to prevent stripping the bolt. Just slightly and not excessively tighten it.
Place Guard And Cover Down:
Place the guard cover and guard down until the hinge meets the screw, and then use your Philips screwdriver to tighten the screw. The same principle applies to this screw: tighten it just enough without overtightening it.
Place the Blade Arm Down:
Place the blade arm on the ground and reinstall the lock pin so that the blade arm is completed.
And you’re done changing the blade on the Ryobi miter saw.
Bottom Line:
With this step-by-step guide, it couldn’t be easier to change the blade on a Ryobi Miter Saw. Make sure to carefully read each step before moving on. And always start by making sure everyone is safe. Make sure you have the right tools, and if you run into trouble, always ask a professional for help.
FAQs:
How to Take the Guard Off the Ryobi Miter Saw and Put It Back On?
To take the guard off the guard assembly, you’ll need a screwdriver. Take the blade guard screw all the way off. After you take it off, take off the old blade guard, put on a new one, and tighten the bolts with a screwdriver.
Related Posts: